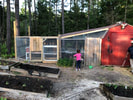
 I love sweet potatoes for pies, fries or a simple baked snack oozing with buttery goodness. Each fall, we make our way to the farmer's market to load up the trunk with two cases of sweet potatoes, then we head on back home. This year will be a little different. We decided to grow our own sweet potato slips to plant in our growing garden. We tried this a few years ago, but this piedmont clay makes our soil way too difficult to work. Sweet potatoes need very loose soil to plump up; otherwise, they are skinny, stringy nuggets after three months underground. And that's exactly what we got. Our harvest was so puny, all we could do was save our pitiful pickin's for the next year's planting season. This time around we are planting our sweet potato slips in containers. We have them growing everywhere! Three huge pots that used to house citrus and blueberry bushes now have sweet potatoes growing contently. Every large pot and recycling bin is now occupied with vining plants spilling down the sides. We prepared each pot with aged compost we make from our own chicken manure, pine shavings or straw, grass clippings and kitchen waste. We mixed this with additional compost purchased from a local vendor. So far, so good. I can wait to see what's in store when we dig them up in the fall. There are two ways you can grow sweet potato slips for yourself. The first way is to root them in water. All winter long we submerged sweet potatoes in water to encourage root growth when we saw any resemblance of an eye emerging. We lost a few because we simply forgot about them and let the water dry out a few times. It's also possible that the roots begin to rot if left too long without refreshing the water every few days or at least weekly. In the spring we started rooting a few potatoes in soil. We simply buried the entire sweet potato in shallow soil in a pot and kept it watered. After two weeks, we had strong plant starts to add to the garden. We found that these slips were much healthier and easier to transplant than those started in water. From one potato we were able to get as many as 8 rooted plant starts. We had more than enough for our own garden and plenty to share with other families.    
0 Comments
  the tWe love tomatoes. Well, at least the adults do. The kids are another story. The thing is, they eat tomatoes in so many things, but swear they would never eat tomatoes! They love spaghetti. They eat marinara sauce and salsa. They wouldn't think of eating hash browns or hamburgers without a humongous glob of ketchup on top. Yet, they don't eat tomatoes. Okay. Each year since we've started this garden, we've planted the varieties well-known to our parents. This would always include better boy, beefsteak and Roma on occasion. In recent years, we experimented with Cherokee Purple and Celebrity after attending a tomato growing class offered by a local feed store. This year we decided to take our tomato game to another level. We are growing at least eight different varieties of tomatoes this year. All of our plants were started from seed in February, March and April, then set out either in the raised garden beds or in buckets. We are growing at least 11 plants in 5 gallon buckets. The fellas built a bucket planter that holds 12 five-gallon buckets. (Look for our YouTube video DIY Quick Easy Planter for Small Gardens about how we built it.) Our soil is straight clay, so there are very few things we can actually grow in-ground without heavily amending the soil. Our tomato choices this year are Granny Cantrell, Big Boy, Roma, Paul Robeson, Cherokee Purple, Black Krim, Celebrity and Cherry. Most of these seeds were purchased from Baker Creek and Park Seed. However, Big Boy was saved from two years ago and Cherry was saved from tomatoes we had last summer. I was so surprised either of them actually sprouted! And no, we did not practice any of the great seed saver techniques such as storing in a cool, dry place or the freezer. But when you know better, you do better. This year, we pledge to do better. As if we didn't have enough tomato plants already, I messed around and learned that you should prune the suckers to get better growth and stronger plants. And seeing as how tomatoes root and grow so easily, I wasn't about to let a perfectly healthy plant go to waste. So I learned you can root tomato suckers in water or soil. The kids and I set out to find out how true this is. About two weeks ago, we cut suckers from the bottoms of Big Boy and Cherokee Purple established plants. We placed these directly in potting mix inside the garage. The next day we took additional cuttings and placed them in a jar of water. Naturally, the plants placed in soil drooped overnight. But by the next day, they had regained strength and perked up with constant bottom watering. After a week, the plants clearly appeared to be healthy. The ones in water had grown a few roots. By the end of week two, new leaves began to appear on the plants grown in soil; a nice root system had been established on the plants grown in water. We moved them to pots today. Conclusions; 1. Snip or pinch suckers when it's cool and when they are large enough to see visible "hairs" on the stem, at least 4-6 inches tall. 2. Plants grown in water seem to root faster and do not lose their luster. Place them in a window. 3. Move plants to pots to further establish roots and gradually expose to sun (harden off). 4. Suckers should only be removed from indeterminate varieties. Determinate tomatoes set fruit all at once, so you don't want to remove any of your fruiting branches. ~PennyCandy 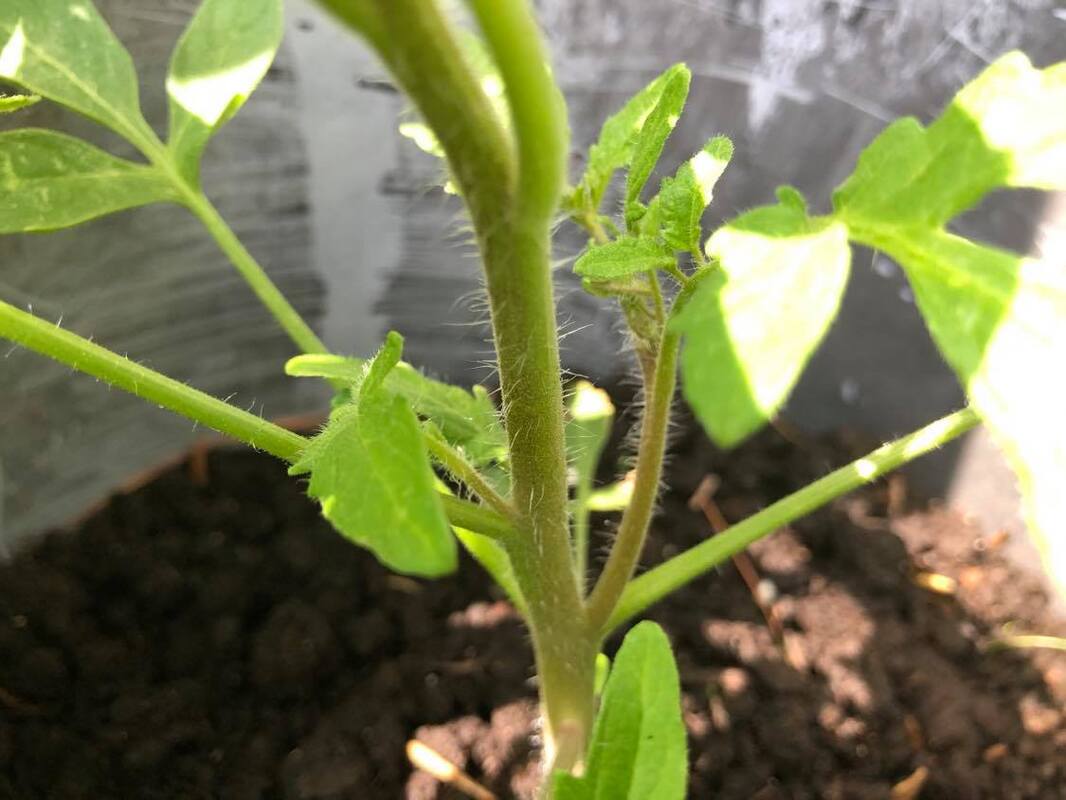 |
AuthorI'm a wife, mother, daughter, educator, writer and hobby farmer. Welcome to my world of simply living. Archives
December 2023
Categories
|
 RSS Feed
