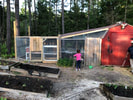
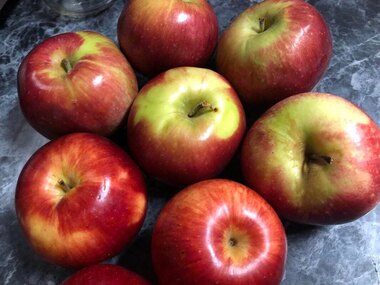
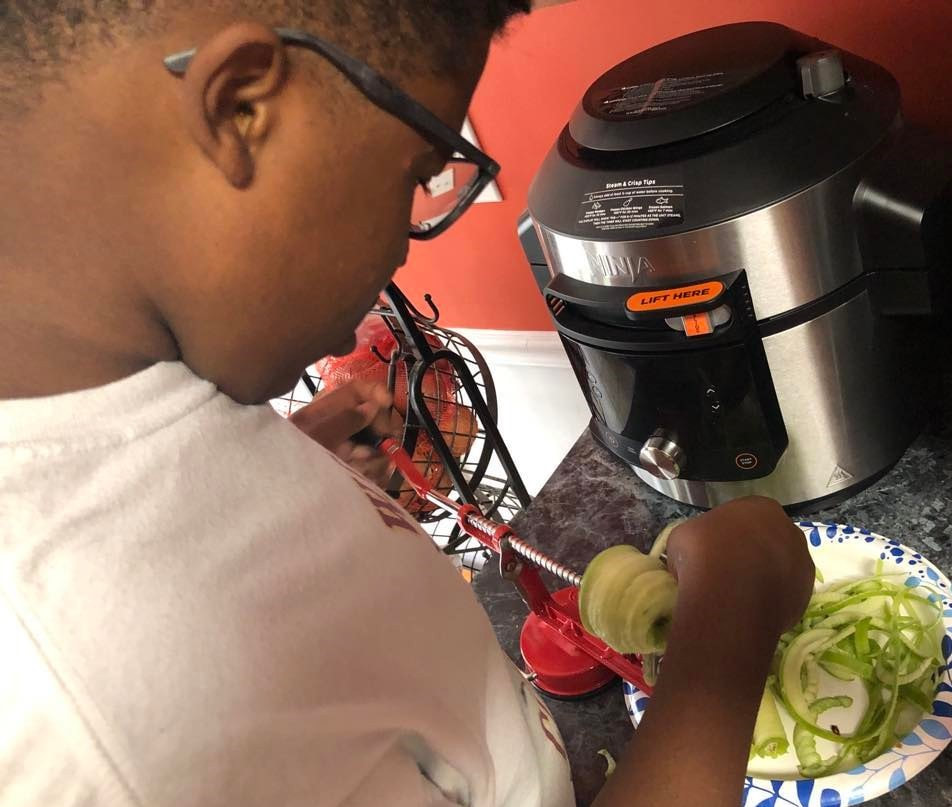
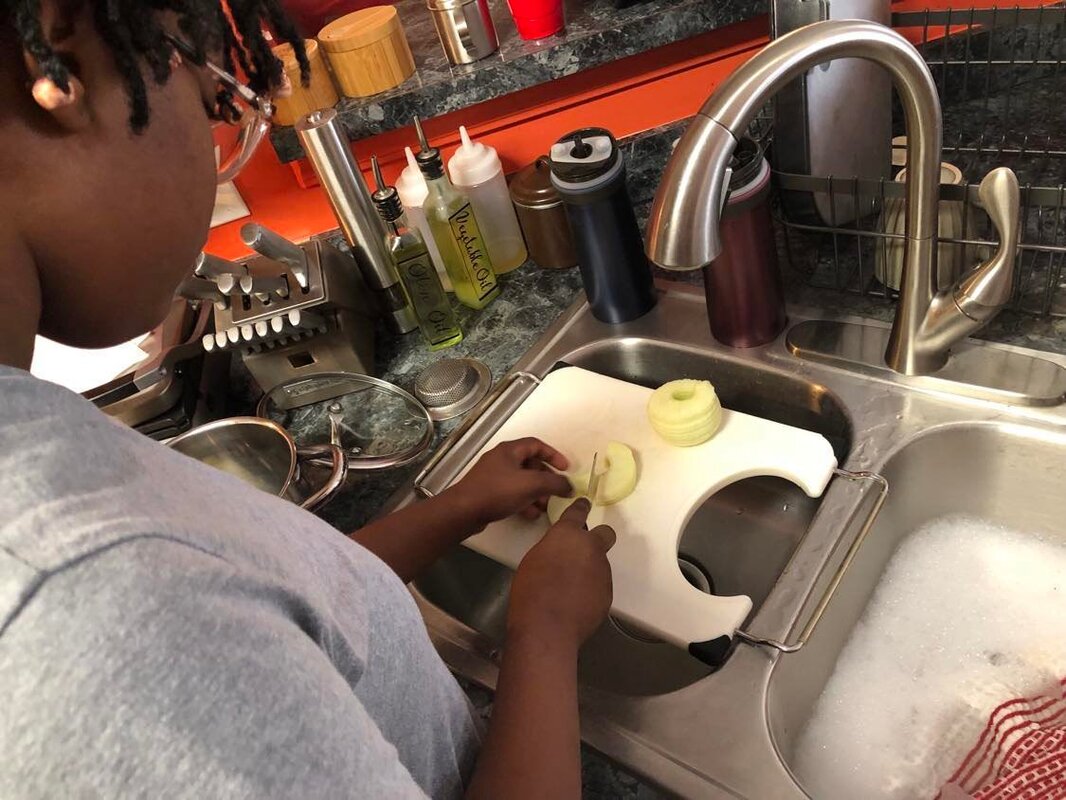
 I had the pleasure of working with two teenagers in my kitchen recently. One of them was working on a project and wanted to make jelly from scratch. Well, needless to say, that was right down my alley. In just a few hours we turned 6 pounds of apples into 20 jars of homemade applesauce and apple jelly. Let’s roll back through the steps. We started with a variety of apples. Granny Smith is a hard, tart apple often used in pies. It offers just the right amount of bite to be added to any apple desserts. We added a few Pink Lady apples. I almost exclusively buy Envy and Honey Crisp, so this was the first time I tasted Pink Lady. It’s surprisingly sweet and has a floral finish. We also had a bunch of small Fuji apples which are also popular in baking and applesauce. We used several of them to create a nice mixture. The texture of this one was a little softer than the other two. Working on this project reminded me of the many treats we've prepared over the years when we had an excess of pears or apples. We made pear sauce, apple-pear sauce and then apple butter, because we got tired of eating all the sauces. This time, we pushed it to another level. The challenge in this project was to use everything. So, after making this applesauce, we used the peelings and scraps to make jelly. (And I'll just have to say this was probably the best apple jelly we've ever made!) Nothing goes to waste in a frugal lifestyle. This was a perfect lesson for these teenagers in a time of wastefulness. Check here for our blog on Apple-Pear Sauce. We set up stations that made quick work of the task. First, the apples are peeled using a gadget we scored just before quarantine. This apple peeler makes the process so much easier; however, setting the blade to cut just right according to the size and texture of the apples can be tricky. If the blade is too tight, it cuts too deeply into the flesh, and the apple could begin to fall apart. If it’s too loose, the blade just rides along the skin and doesn’t cut anything. It’s important to find the middle ground. It may take a few trials to get there and will likely be different for each variety. Once the apples are peeled, I like to use a paring knife to make sure there is no lingering skin or seeds embedded. Then, the apples are chopped into small pieces about a half-inch wide. The peeler slices the apples into rings, so these small chunks take very little time to break down. The apple chunks are placed into a stock pot. Lemon juice is added, and it is important to stir to keep them from turning brown. Add the apple juice, place the lid on the pot and bring the mixture to a boil over medium heat. We prefer honey crisp apple juice, but your favorite brand should work just fine. The apples are cooked until they become soft. The tines of a fork should easily push right through the pieces, or you will notice the apples beginning to break down on their own. It should take about 20-30 minutes once the liquid begins to boil. You will want to stir or turn the apples a few times to prevent them from burning or scorching. Once the apples are soft enough, remove the pot from the heat and use a potato masher to break them down further. We used an immersion blender to separate large chucks, making the applesauce much smoother. Add brown sugar to sweeten. Cinnamon or other spices can also be used to suit your own taste. 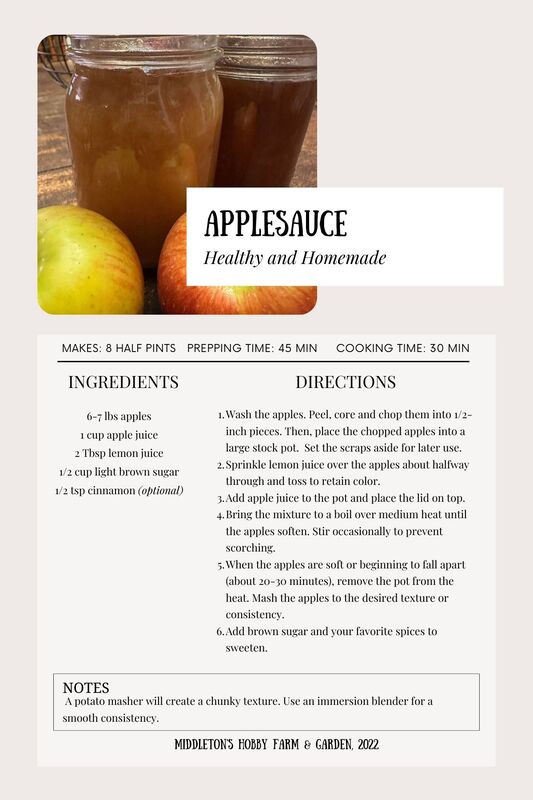 Click here to download. This applesauce is perfect for immediate use and will hold up nicely if properly canned. After tasting this applesauce, our kiddos insisted on opening one of last year’s jars of Apple-Pear Sauce. It tasted just like it did on the day it was jarred. To Can the Applesauce: 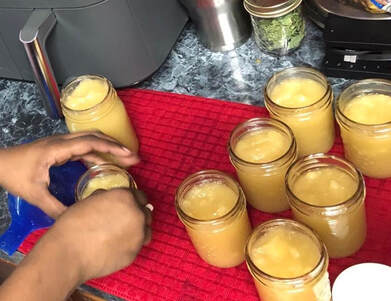 Applesauce can be safely canned using the water bath method. Fill a large stock pot with water and bring it to a boil. Wash the jars and place them in the pot to sterilize them while you prepare the applesauce.
Once the applesauce is ready, you will fill the warm canning jars with the warm applesauce. Wipe the rims with a damp paper towel before adding the caps and rings. Place the filled jars into your canner or stock pot. If you are processing using the water bath method, be sure the water is at least one inch above the tops of the jars. Bring the water back to a boil and process at a rapid boil for 20 minutes. Be sure to listen for each lid to “pop” once the jars are removed from the water bath. Any jars that are not sealed should be refrigerated and used within a few days. Read the post on Apple Scrap Jelly to find out what to do with all those apple peelings and cores. You can literally make use of everything.
0 Comments
|
AuthorI'm a wife, mother, daughter, educator, writer and hobby farmer. Welcome to my world of simply living. Archives
December 2023
Categories
|

 RSS Feed
