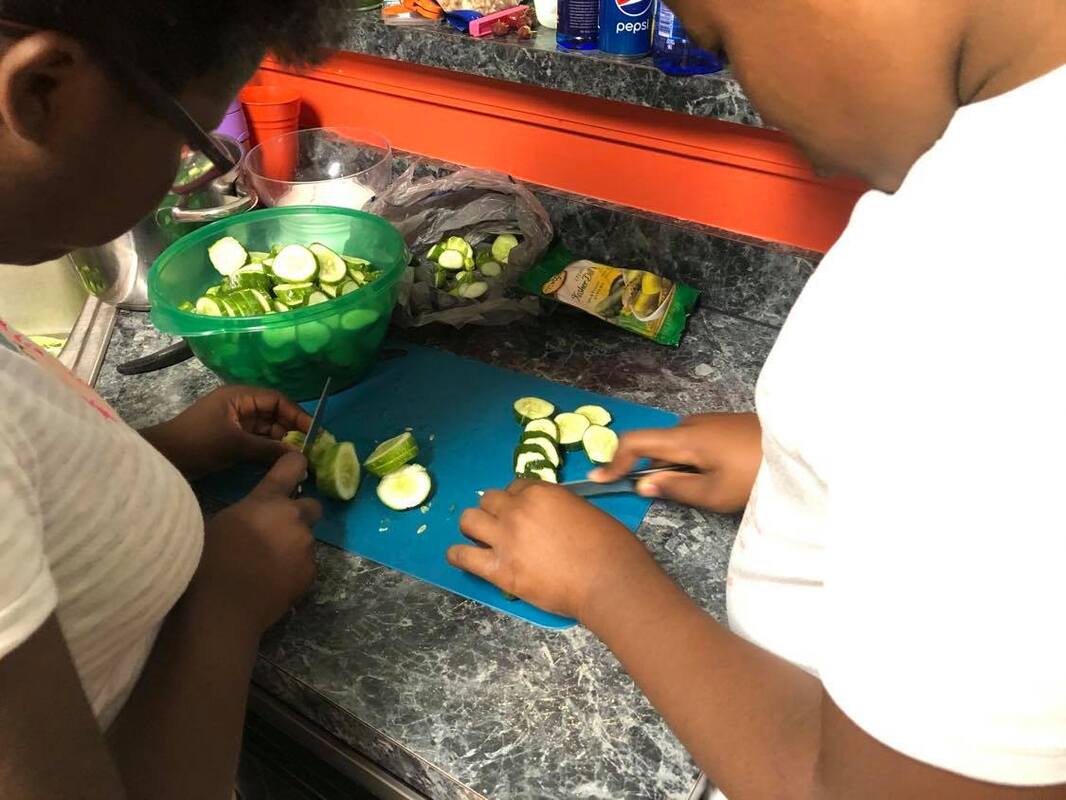
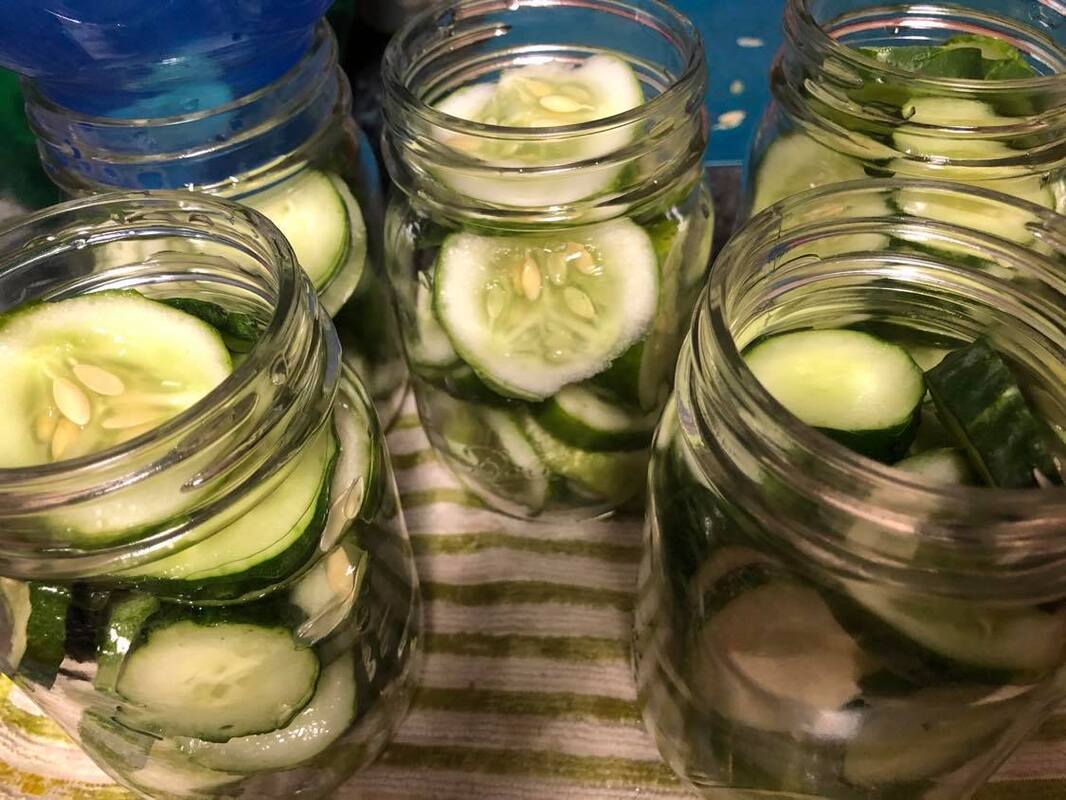
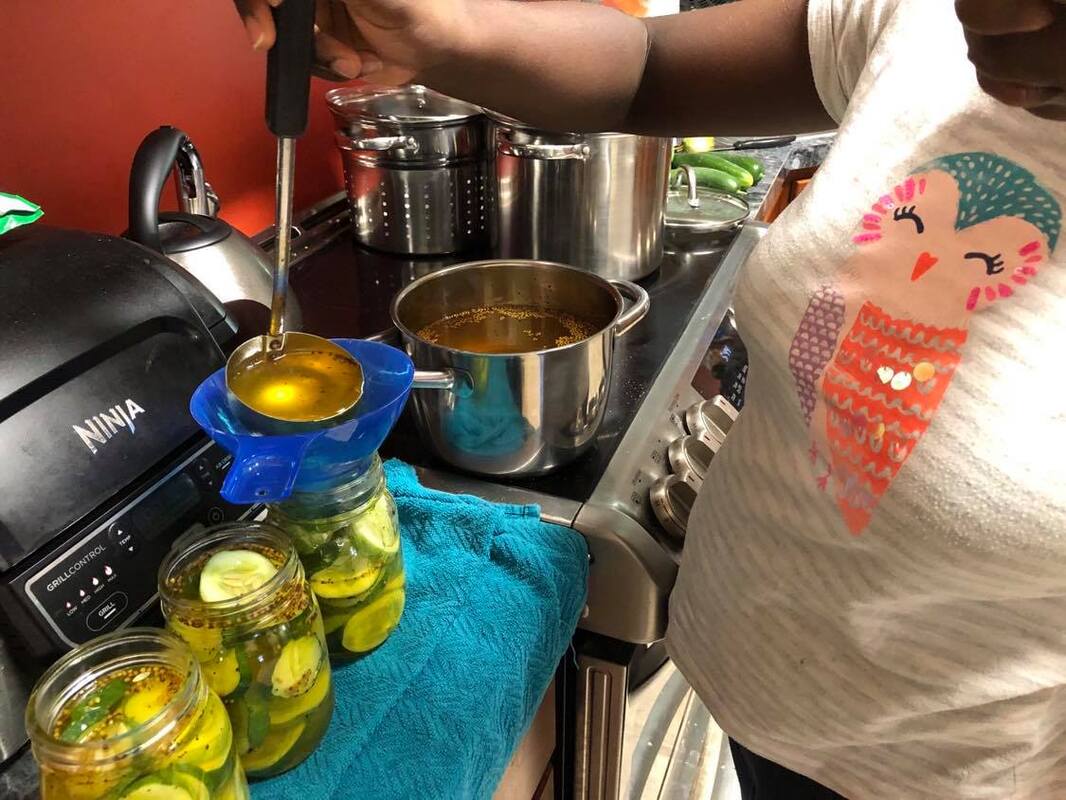
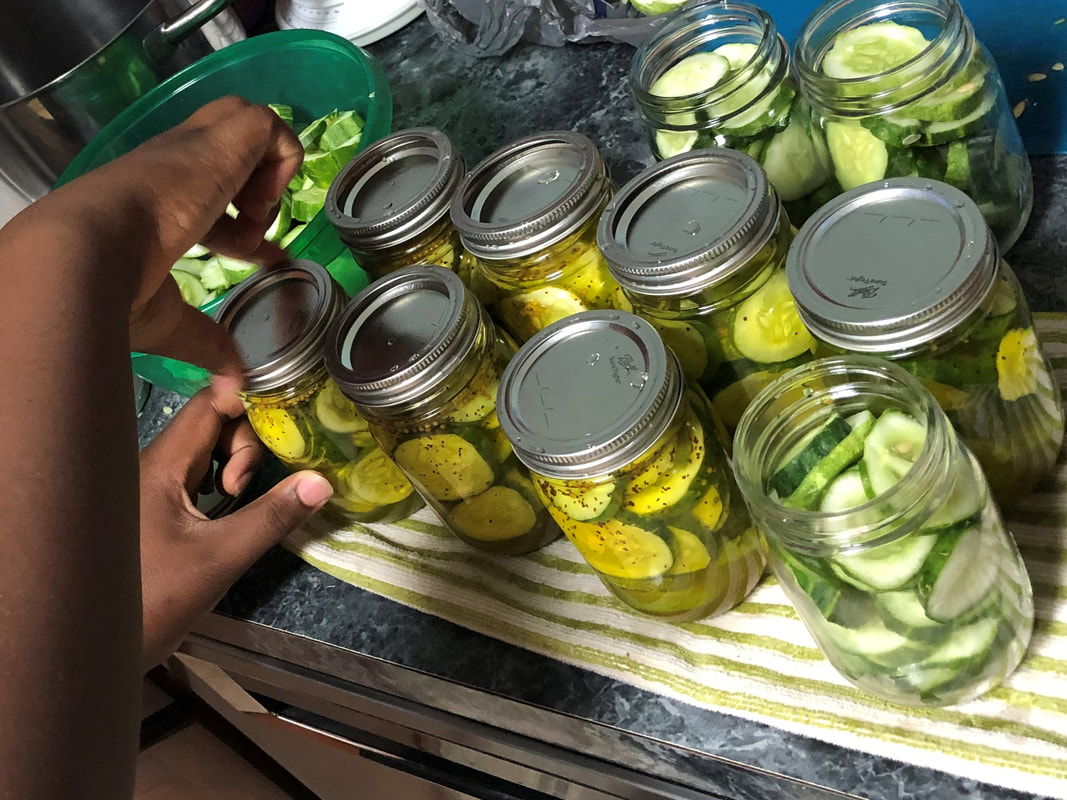
 Last year the kids helped me make bread and butter pickles for the first time. We only made about 6 jars. It was our first gander at pickling, and we didn't know what we were doing. But the pickles were a hit! We used a store-bought mix, Mrs. Wages, and added the vinegar and sugar. Everyone in our house loves sweet pickles. We eat them on sandwiches, hamburgers or just plain, but I don't believe you would see anyone in this house eat dill pickles that way. We just don't. We planted well over thirty cucumber plants this year in four varieties. Two of them are pickling types. In spite of the quantity, the cukes have been very slow to get started with this summer heat, then days of heavy rain. We've only been able to gather a few here and there for salads or fresh eating. That is, until this week. We got a hard rain a few days ago and went out to find we had nearly 20 pounds of cucumbers to do something with- immediately! We got to slicing, boiling, stuffing and voila!, 2 hours later we had 22 jars of pickles. They are evenly split between dill and bread and butter. Before we could get the final jars into the water bath, you could already hear, "Can we open one now?" "When will they be ready?" "Well, what about later?" The answer was a firm, "No!". The pickles have to set in the brine for at least 24 hours. SLICE CUCUMBERS. Making pickles is super easy. If we could grow enough cucumbers, we'd never buy them from the store again. Start by washing the cukes really well since you are eating the outer peeling. I use cold water to do this. Slice them about 1/8 to 1/4 inch thick or to your preference. STERILIZE JARS. While you slice, go ahead and sterilize your jars. I usually fill a stock pot with water and heat it up, then I add my jars and bring the water to a boil. They need to boil for about 10 minutes. Some people sterilize jars by running them through the dishwasher or even setting them in the oven. I do what Grandma did. The jars should be warm, because you are going to add hot liquid and put them back into hot water. You don't want to crack them. PACK JARS. Fill the jars with the cucumber slices. Make sure you use up as much space as you can. The slices will shrink once you add the hot liquid and process. You will want to leave about a 1/2 inch headspace between the rim and the top of your vegetables. Set the filled jars aside on a dish towel or canning mat. PREPARE PICKLING BRINE. Prepare your pickling liquid. As I said earlier, we used a store-bought mix, but there are tons of recipes all over the internet. I also have a few canning books that I go to for inspiration. I canned some banana peppers a few weeks ago with equal parts of white vinegar, apple cider vinegar, and sugar. If you have garlic, mustard seed, dill and celery seed, you can easily make your own pickling brine. POUR BRINE INTO PREPARED JARS. Once the brine comes to a boil, pour it over the cucumbers in the warm jars. Leave a 1/2 inch headspace. Use something long like a skewer to push down into the jars to encourage any air bubbles to float to the top. Place a canning lid on the jar along with a ban. Don't screw the band too tight. PROCESS JARS. Cucumbers are safe to water bath. Place as many jars as you can back into your stock pot or canner. Make sure there is at least 1 inch water above the caps. Bring to a rolling boil and let it go for about 15 minutes. Remove the jars and let them sit on the towel or canning mat. As they seal, you should hear the lids pop and see the indentation in the top. You can then remove the bands. Any jars that are not sealed, should be refrigerated. Use those first. Make sure you label your jars with the contents and date. Happy Pickling!
0 Comments
Leave a Reply. |
AuthorI'm a wife, mother, daughter, educator, writer and hobby farmer. Welcome to my world of simply living. Archives
December 2023
Categories
|
 RSS Feed
